MAWAA-SHOP
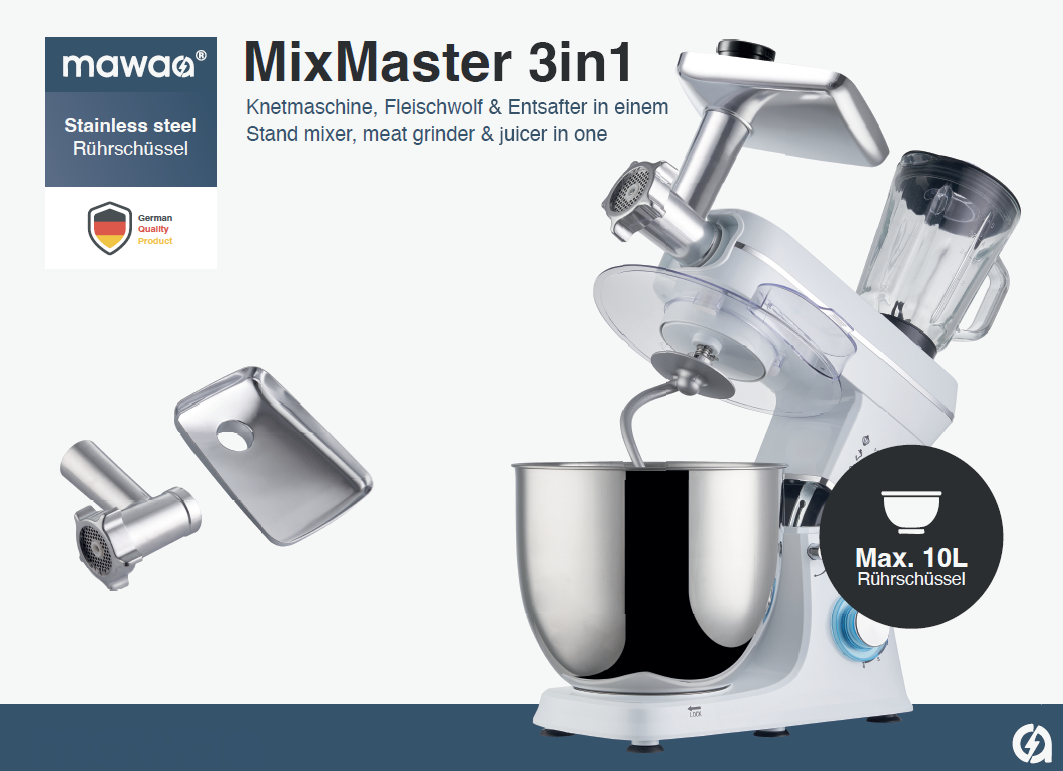
MixMaster 3in1 (MX2-2415-SW)
MixMaster 3in1 (MX2-2415-SW)
Couldn't load pickup availability
1: Safety instructions
To ensure safe use and avoid injuries or property damage, please strictly observe the following safety instructions. Failure to do so may lead to accidents:
- Read the instructions carefully before use.
- Clean all accessories before first use.
- Check that the mains voltage matches the requirements of this product.
- If the product has a protective contact plug, it must be plugged into an earthed socket.
- Use the product only in the specified area.
- Do not operate directly with direct current.
- Power cords and plugs must not come into contact with water or other liquids.
- Always switch off or unplug the device before cleaning, changing accessories, or when not in use.
- Do not touch any moving parts during operation.
- Using non-recommended accessories can result in fire, electric shock, or injury.
- Do not knot or tie power cords. Do not let them hang over table or cabinet edges.
- Before use, make sure that all parts are properly locked.
- The internal safety locking system must not be damaged.
- When mincing meat, do not feed it in manually – use the pusher.
- Switch off the power before changing accessories.
- Always refer to the operating instructions when using the product or changing accessories.
- The product may only be used by people with physical or mental disabilities (including children) under supervision.
- Children must not play with the product.
- In case of malfunction, set the device to "0" and unplug it.
- Place the device on a stable surface.
- Exercise particular caution around children.
- Do not expose to rain or direct sunlight.
- Keep the plug dry before use.
- Check the power plug and cable before use.
- Always touch the plug by the housing. Accessories and recommended use: Do not pull on the cable or operate with wet hands.
2: Product structure diagram
| Standard accessories | Optional accessories |
| 1. | Back cover |
| 2. | Front cover |
| 3. | 8L bowl cover |
| 4. | Bowl |
| 5. | Stirring wave |
| 6. | Head lift button |
| 7. | Control buttons |
| 8. | dough hook |
| 9. | Stirring paddle |
| 10. | whisk |
| 11. | measuring cup |
| 12. | Lid for juice cup |
| 13. | Juice cup |
| 14. | meat stuffer |
| 15. | Meat storage |
| 16. | Filling nozzle |
| 17. | Aluminum nut |
| 18. | Cutting unit |
| 19. | Filling plate |
| 20. | Crossblade |
| 21. | auger |
| 22. | meat grinder drum |

3: Product specifications
- Rated power: 1400W
- Nominal voltage: 220–240V
- Capacity: 10 liters
4: User manual
|
Speed adjustment:
|
|

Accessories and recommended use:
| Accesories | aisle | Service life | Maximum use |
| dough hook | 1–3 | 3–5 minutes | 2500g flour + 1345g water |
| Stirring paddle | 2–4 | 3 minutes | 660g flour + 840g water |
| whisk | 5–6 | 3 minutes | At least 3 eggs |
| meat grinder | 5–6 | < 15 minutes | Approximately 3000g of meat |
| Juice cup | 5–6, P | 3 minutes | 1450g fruit |
Note: Images may differ from the actual product. Please refer to the actual product.
5: Assembly and Use
Installation of the 8L bowl cover:

Switch off the device or unplug it. Place the cover over the drive shaft with the filling opening facing outwards, push upwards and turn until it clicks into place.
Disassembly:
Press down and remove.
Installation of the bowl:

Switch off the appliance or unplug it. Lift the machine head with one hand and turn the head-lifting knob clockwise with the other. Place the bowl on top and turn it counterclockwise until it clicks into place.
Disassembly of the bowl:
Turn clockwise and remove.
Mounting of dough hooks, paddles or whisks:
Switch off the device or unplug it. Place it on the drive shaft, push the spring upwards, and turn the accessory counterclockwise until it clicks into place. Lower the head again.
Disassembly:
Push the spring upwards and turn the accessory clockwise.

Assembly of meat grinder:
Switch off the appliance or unplug it. Insert the auger (21), cross blade (20, cutting edge facing outwards), and disc (18) into the drum (22). Tighten the aluminum nut (17) clockwise. Remove the front cover (2). Attach the meat grinder counterclockwise.

Place the meat tray (15) on top. Insert the food using the pusher.
Disassembly:
Press the release button, then remove the accessory clockwise with your other hand.
Assembly of juice cups:

Switch off the appliance or unplug it. Open the back cover (1) counterclockwise. Insert the juice cup and turn it clockwise until it clicks into place. Add the ingredients, replace the lid, and select the desired speed.
Disassembly:
Turn counterclockwise.
Note: Accessory images are for reference only. The meat grinder, juice jug, and dough function must not be used simultaneously – otherwise, there is a risk of overloading!
6: Precautions for cleaning and maintenance
- Do not immerse the device in water. Do not pour water over the device.
- Do not clean with dripping wet cloths.
- Do not use aggressive or corrosive cleaning agents (vinegar, salt, strong acids/bases).
- Do not use sharp tools such as steel wool.
- Do not soak accessories in salt/vinegar water. Dry thoroughly after cleaning.
especially mounting holes.
- Not suitable for dishwashers.
- Clean after each use and store in a dry place.
- When disassembling a meat grinder: Be careful when handling the blade!
7: Common Problems and Solutions
Problem Possible cause Solution
Device suddenly stops; overheating protection activated; switch to "0", unplug, let cool for 15-30 minutes.
Device does not start
- No electricity
- Head not properly locked | 1. Check plug
- Lock the head in place | Volume too high | 1. High speed
- Overloading
- Voltage fluctuation
- Overheating | 1. Lower level
- Fewer ingredients
- Stabilizing tension
- Let the device cool down | Speed fluctuates | 1. Cold: Oil is viscous
- Ingredients that are too hard
- Voltage too low | 1. Idle for 5 min.
- Reduce quantity
- Stabilize tension || Device wobbles | 1. Rubber feet are missing
- Uneven surface | 1. Check
- Place on level ground |
Customer service
Warranty conditions:
- Exchange possible within one week (not caused by human error) with valid receipt.
- Within one year – free repair in case of material/manufacturing defects.
- After one year – only spare parts costs, no labor costs.
A notice:
- For private use only – no commercial use, otherwise the warranty will be void.
- The manufacturer is not liable for damage caused by improper use contrary to the instructions.
If you need this version as an editable file (PDF, Word) – just let me know.